Installing ELK
Before running the ./easy-monitor elk command, you need to configure the passwords for the variables in the .env file.
Open the .env file in a text editor, such as vim or vscode. You can use the following command to open the .env file in vim:
$ vi /opt/easy-monitor/elk/.envLocate the variables related to passwords, such as
- LOGSTASH_INTERNAL_PASSWORD,
- KIBANA_SYSTEM_PASSWORD,
- and others.
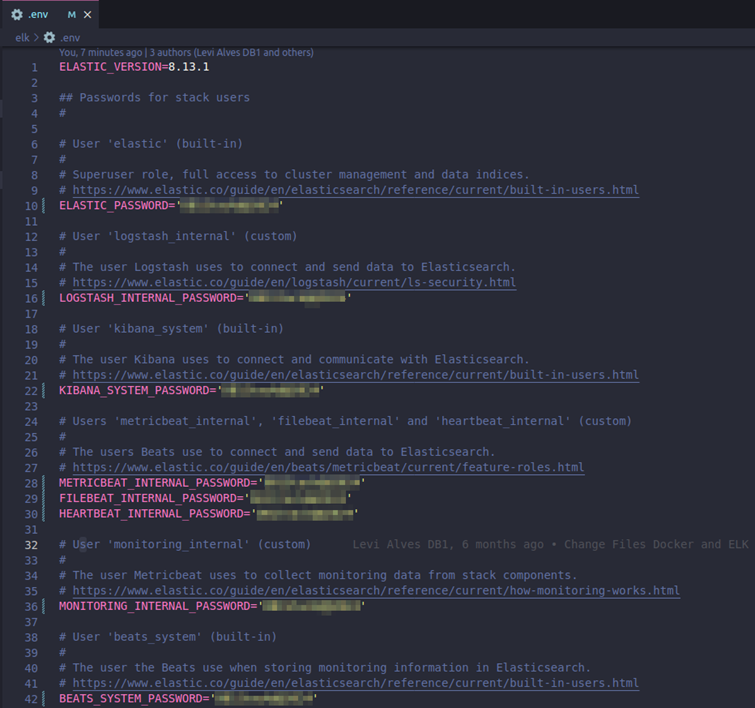
Set a password for each of these variables by assigning a value within single quotes (' '). For example, for the ELASTIC_PASSWORD variable, you can set a password like this:
ELASTIC_PASSWORD='your_password_here'Do the same for the other password variables, assigning unique passwords to each.
After setting all the passwords, save and close the .env file. In vim, you can do this by pressing the keys ESC :wq (ESC to enter command mode, : to start a command, w to write, and q to quit).
Now, with the passwords configured in the .env file, you can run the ./easy-monitor elk command securely, knowing that the necessary passwords are set and ready for use by the ELK containers.
Starting ELK
To start ELK, run the following command:
$ ./easy-monitor elk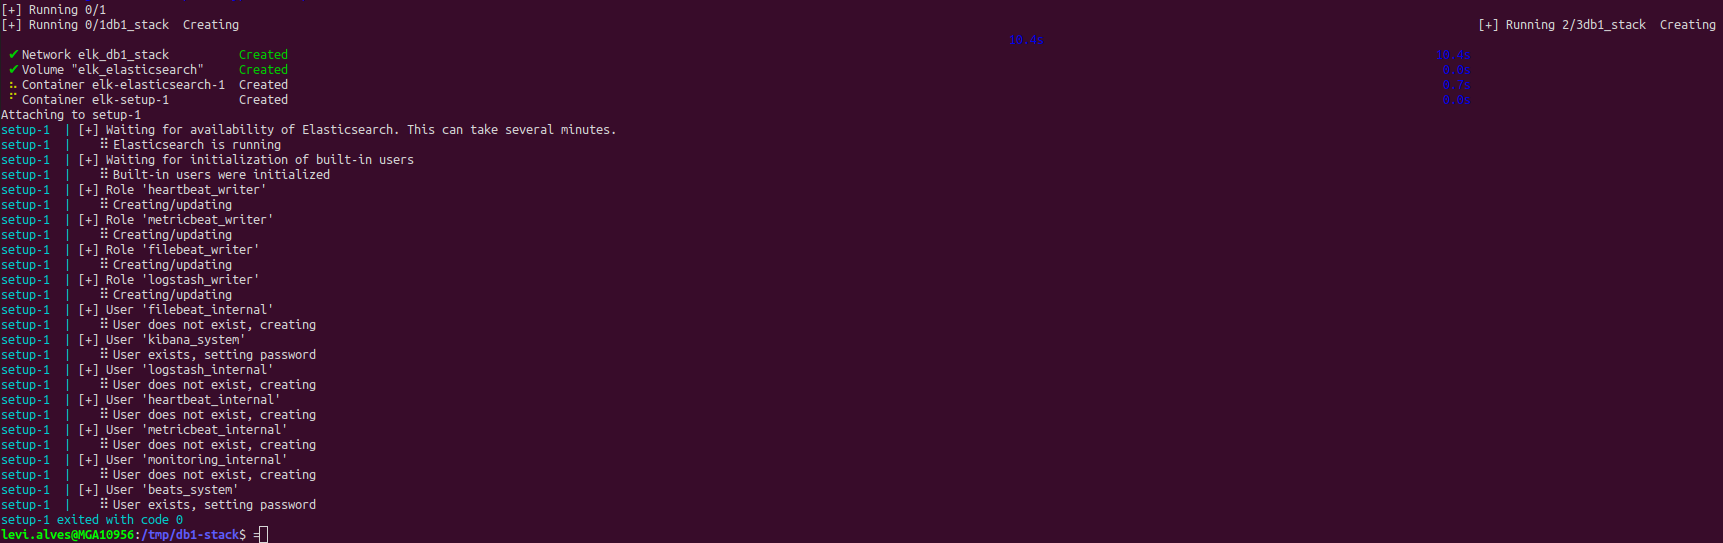
This command starts the ELK stack. ELK is a set of open-source tools for log analysis. It consists of three main components:
- Elasticsearch: A distributed search and analytics engine used to store and search logs.
- Logstash: A data processing pipeline that ingests, processes, and sends logs to Elasticsearch.
- Kibana: A user interface for Elasticsearch that allows you to visualize and analyze stored data.
When you run $ ./easy-monitor elk, the script begins to set up the ELK environment. During this process, it checks if Elasticsearch is available, initializes the internal ELK users, and creates the necessary roles and users for the system's operation. When all steps are completed without errors, you receive a message indicating that the configuration was successful. These messages provide an overview of the progress and state of the setup process.
Starting ELK in the background
Now we will run the following command:
$ ./easy-monitor elk up -dThis command starts the ELK stack in the background. The -d parameter indicates that the containers will run in daemon mode, meaning in the background without displaying logs in the terminal.
Once all the containers are running without errors, you receive confirmation that the operation was successfully completed. The messages displayed during the process provide information about building images, starting containers, and their current status.
Checking the containers
After completing the ./easy-monitor elk up -d command, we will check if they have started successfully:
$ docker container lsElasticsearch
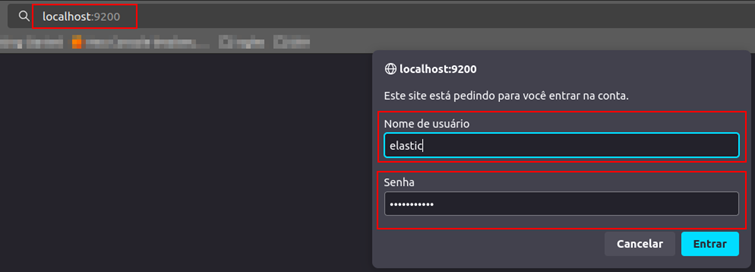
Now we will validate Elasticsearch. Open your browser and enter http://localhost:9200. It will ask for a username and password:
- Username: elastic
- Password: the one you configured in the .env file at the beginning of this tutorial.
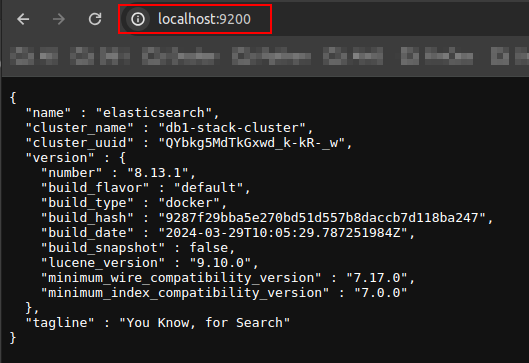
You will see the following screen, indicating that Elasticsearch is operational.
Logstash
Now we will validate Logstash. Open your browser and enter http://localhost:9600. It will ask for a username and password:

Kibana
Now we will validate Kibana. Open your browser and enter http://localhost:5601. It will ask for a username and password:
- Username: elastic
- Password: the one you configured in the .env file at the beginning of this tutorial.
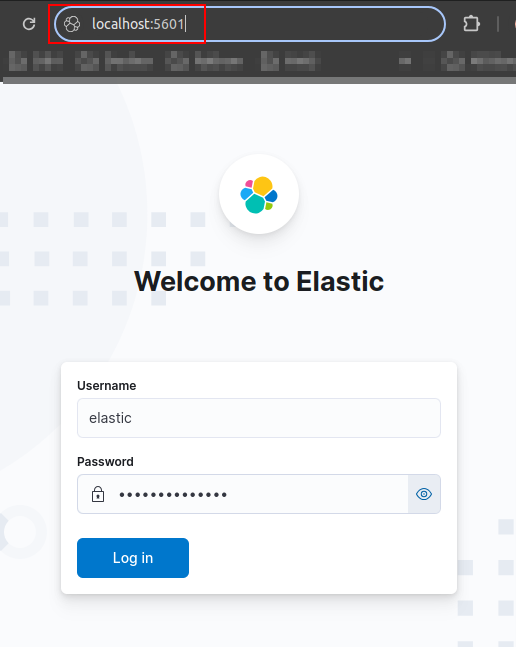
After entering the username and password, you will see the following screen:
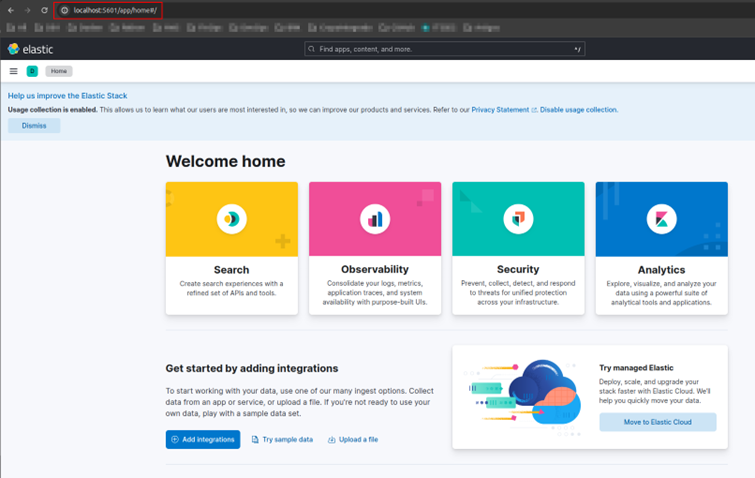
Congratulations! Now your ELK stack is up and running!